We left off at the "Type of Install" screen for which I am going to choose Custom Install.
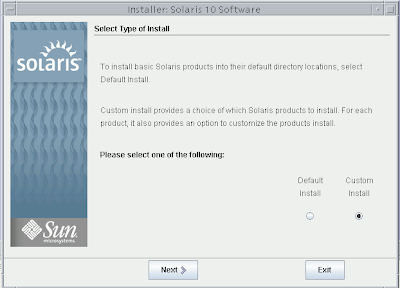
Next, choose the software localizations. If you don't choose any localization, the default English version of Solaris will be installed.
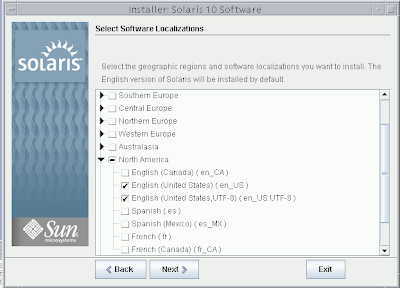
The default selection was English POSIX C (C). I chose the English US UTF-8 as the inital locale to be used after the system initializes.
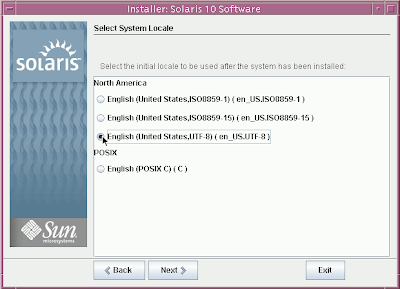
Depending on your preference, you may also want to install Java Enterprise System for development etc.
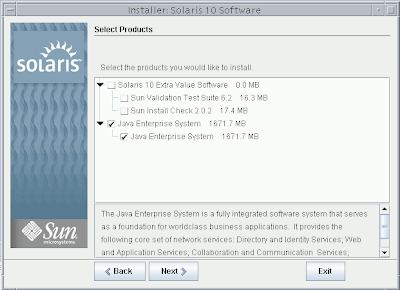
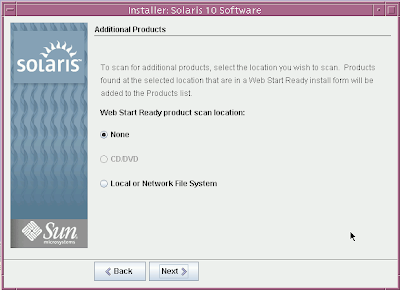
If you would like to scan for additional Solaris products and you have them on a local or network file system, you can do so in the next step.
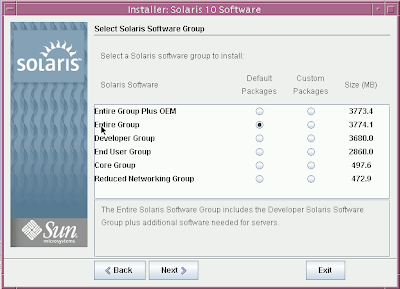
I will be installing the Entire Group. which will include the developer solaris software and additional software needed for servers.
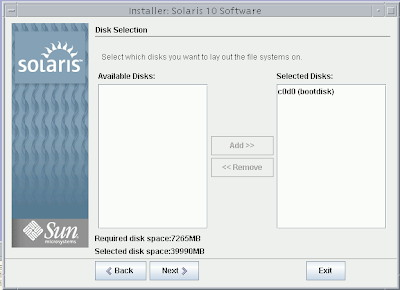
Next is the disk selection screen. The default configuration here is just fine.
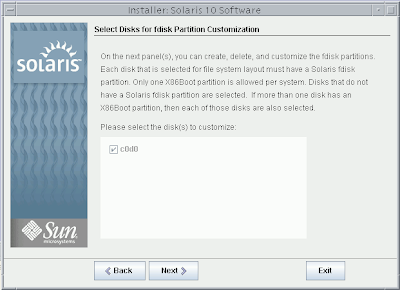
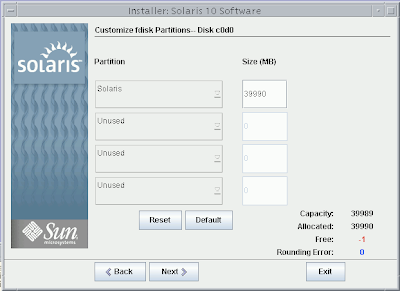
In the next screen you can select disk(s) for fdisk partitioning. Each disk selected for file system layout must have a Solaris fdisk partition. Each system can only have one X86Boot partition.
For the next screen, the default options are fine.
Now Solaris will determine size requirements based on your selections and then present information about Lay Out File Systems
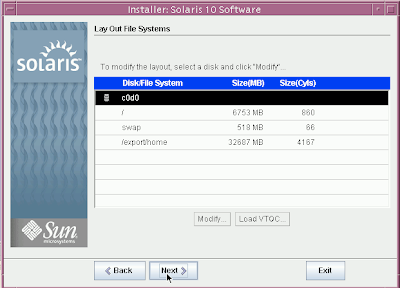
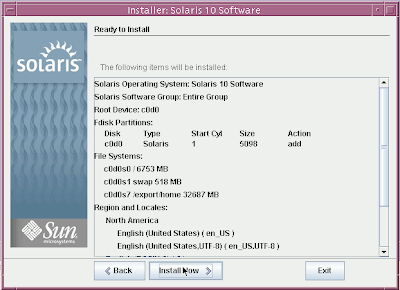
If everything looks good click next to confirm and install your selections.
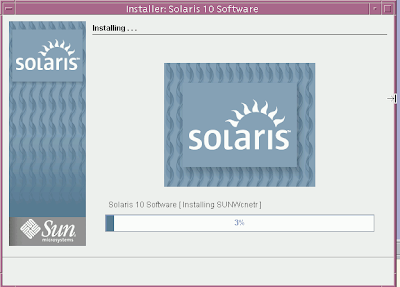
Now sit back and enjoy the installation as it proceeds.
To be continued...
NEXT:
Installing Solaris 10 on Mac Book: part 1
Installing Solaris 10 on Mac Book using Parallels: part 2
Installing Solaris 10 on Mac Book using Parallels: part 3
Installing Solaris 10 on Mac Book using Parallels: part 4
Installing Solaris 10 on Mac Book using Parallels: part 5
No comments:
Post a Comment