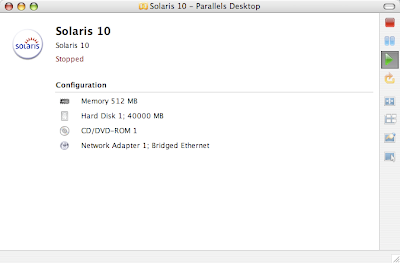
After clicking finish, I was presented with the following screen for a moment:
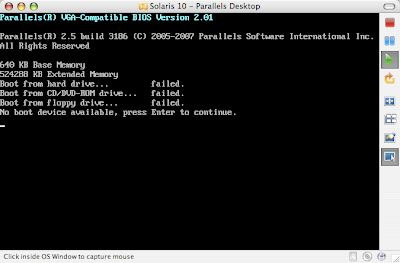
Then it started to make an attempt to boot, however since the DVD wasn't ready, the boot failed.
Before I know it, I was seeing the message presented in the following screen shot:
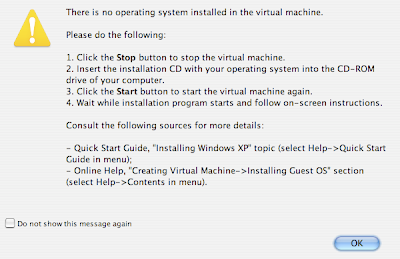
Don't worry if you see a similar message. All you gotta do is stop the virtual machine, make sure the Solaris 10 DVD is inserted and then click on the start button to start the virtual machine installation once again.
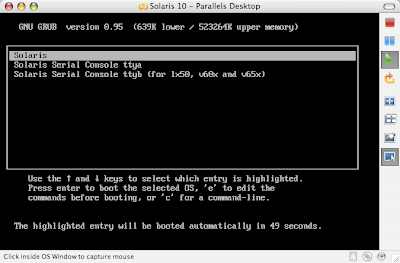
Soon you will be presented with the following options. Just make sure you select Solaris and hit Enter. If you still get errors about not being able to mount DVD ROM, just try again :)
Next, choose the type of installation. I chose Solaris Interactive.
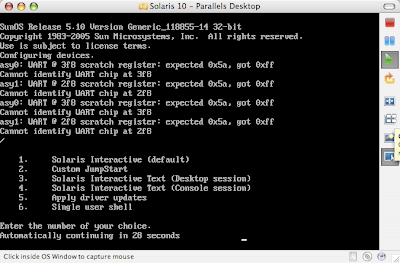
At this point, you will see messages regarding
"Using install cd in /dev/dsk/c0t1d0p0
Using RPC Bootparams for network configuration information
Beginning System identification
Searching for configuration file(s)...
Search complete"
If you experience that you are stuck at "Searching for configuration file(s)" for a very long time, try stopping and restarting virtual machine installation.
Next you will be presented with "Proposed Window System Configuration for Installation"
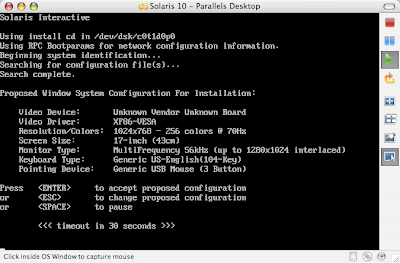
I wanted to decrease the resolution as with the default resolution in my earlier installation attempts, I wasn't able to run Solaris 10 in full screen mode. If you press ESC, you can change the defaults using kdmconfig.
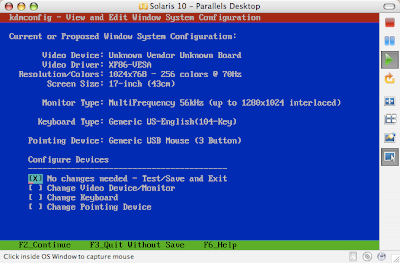
Keep going through the screens by pressing [fn + F2] until you get to the kdmconfig screen that asks you to specify screen size selection. I chose 13-inch since I have a 13-inch Mac book. The default selected for me was 17-inch.
Clicking next will bring you to "Resolution/Colors Selection." Based on the issues I had with earlier installs, this is what I was looking for. The default selection was 1024x768-256 colors @70 Hz.
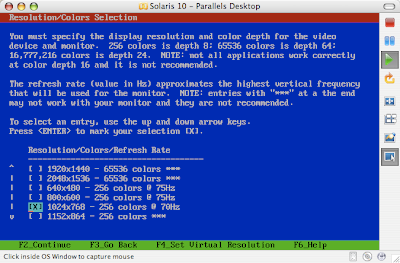
I chose 800x600 - 256 colors at 75Hz.
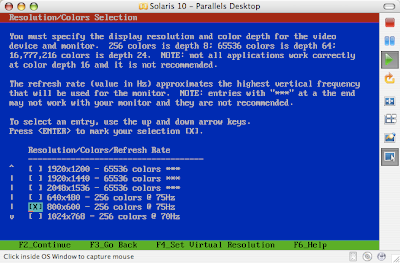
My final configuration looked something like:
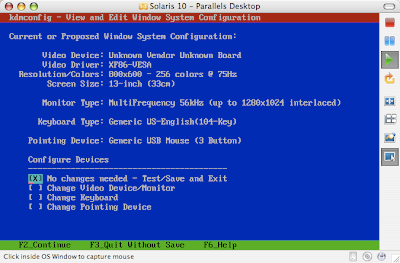
Next, we are ready to now run the kdmconfig Window System Configuration test.
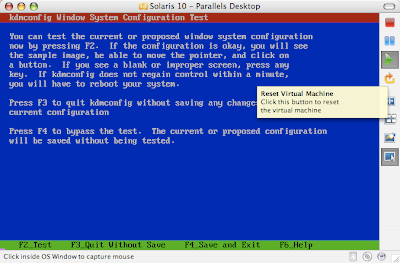
Run the test by pressing F2 (fn+F2) and you should see something like the following:
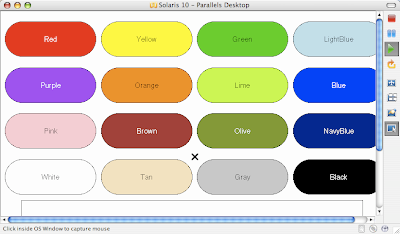
Seeing the test results, I went back and changed from 256 colors to 65536 colors. After running the test successfully for the new resolution, I was presented with the language choice screen.
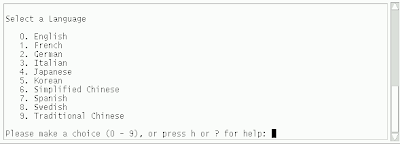
Once you select the language, you will see the following screen for some time.
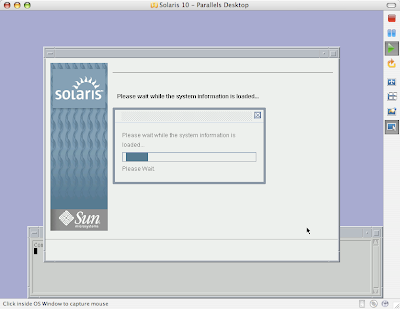
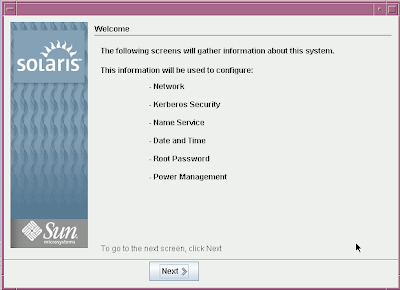
Now we are ready to give Solaris 10 virtual machine information regarding the system.
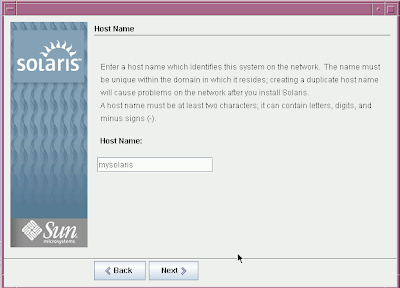
Go ahead and specify the hostname for your virtual machine.
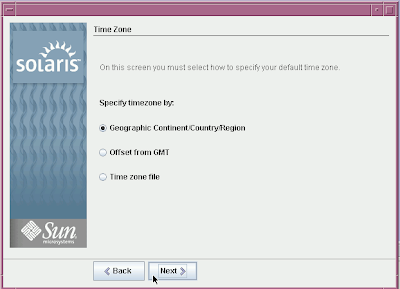
After specifying the hostname, we need to specify the time zone.
Specify the root password on the next screen:
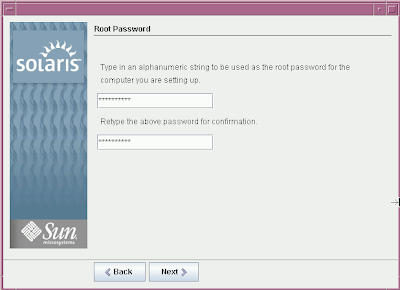
At this point it is important to note that Solaris 10 only cares about the first 8 characters of your password. After those 8 characters you can specify whatever gibrish you want and it will authenticate successfully. I know it's very bizarre and questionable behavior of Soalris in a world where protecting sensitive information is extremely important.
Next, you will see the selection summary. Click on confirm to continue with Solaris Installation.
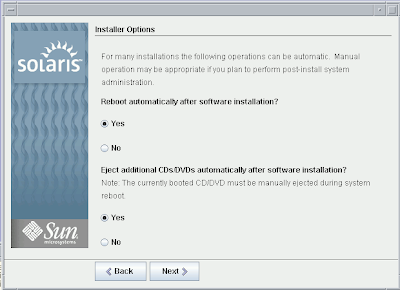
The default Installer options displayed in the next step are fine.
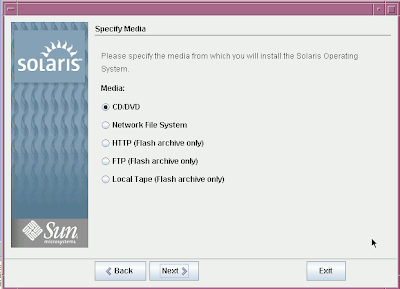
Specify the media from which you intend to install Solaris 10 Operating System. For our purpose, the default (CD/DVD) is fine.
Now the system initialization begins. In a moment you will be asked to accept the agreement to continue installation.
Next choose Default install if you want to install basic Solaris products and tools in their default location. I am however, going to choose Custom install.
To be continued in my next blog post.
NEXT:
Installing Solaris 10 on Mac Book: part 1
Installing Solaris 10 on Mac Book using Parallels: part 2
Installing Solaris 10 on Mac Book using Parallels: part 3
Installing Solaris 10 on Mac Book using Parallels: part 4
Installing Solaris 10 on Mac Book using Parallels: part 5
4 comments:
Hello,
Thank you very much for your posts regarding Solaris 10 installation. However, I'm having a hard time getting the vm to recognize the boot disk AND the iso. Neither are working for me. I just get your 2nd/3rd slide (part 2 of your tutorial) over and over. This even happens for me when trying to install with VMWare Fusion. Any tips/tricks anyone?
Thanks again!
Solomon
Is there any other resolution that will work in order to have Solaris running in Full Screen mode under Parallels?
Thanks
JR
I have five iso Solaris installation files, and when I get to the end of the first one, the VM stops. I have tried disconnecting the "Device" and selecting the next iso image, but the VM will not continue. How do I handle the installation when using multiple iso installation files for Solaris?
Thank you,
Ron
Post a Comment