One cool thing about Parallels is that it lets you choose between "Shared Networking" and "Bridged Networking". Shared Networking is ideal if you don't want your virtual machine to have its own IP. This way your virtual machine will not be visible on the network.
Overall, creating virtual machine for Solaris 10 was not hard at all. However, I did run into networking issues that I couldn't solve even through command line or through smc. It turns out that in order for Solaris 10 to have networking support, you need to have Parallels networking tools installed. Since my work on this Mac Book is going to mostly revolve around MySQL, I need networking setup for Solaris. Another troubling issue I encountered was trying to run Solaris 10 in full screen mode as Solaris cannot the support the 1280x800 resolution.
Step 1: Launch Parallels for Mac
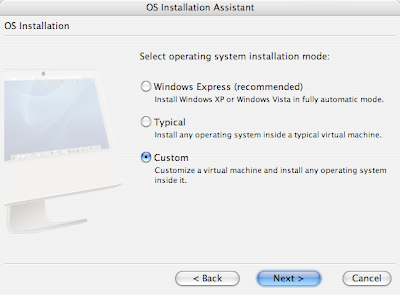
If you want to create a new Solaris 10 Virtual Machine then click "New" after launching Parallels desktop to launch OS Installation Assistant. Once the assistant launches, choose "Custom" and click next.
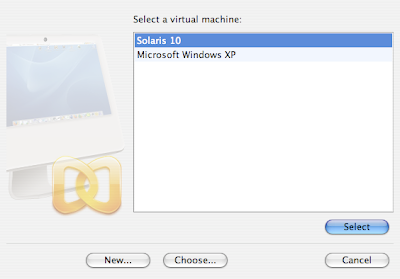
If you are wanting to reset your existing Solaris 10 Virtual machine for whatever reason, you can select the virtual machine you would like to operate on and then under the File menu, click on delete to launch an assistant program.
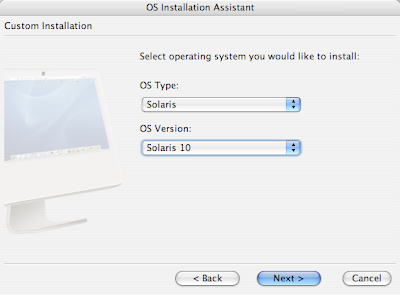
In the next step, select the OS Type as Solaris and OS Version Solaris 10 and click next.
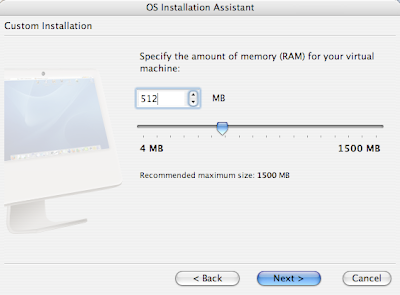
Next, you will be asked to specify the amount of RAM for your virtual machine. The default selection would be 256MB. It is highly recommended that you choose a value larger than 400MB because otherwise you will not be able to run the GUI for Solaris. Since I need to run Chime, a dtrace tool, I chose 512MB.
Once you have specified the amount of RAM to use for Solaris 10, click next to select virtual hard disk option. Since we are creating a new virtual machine, select "Create a new hard disk image."
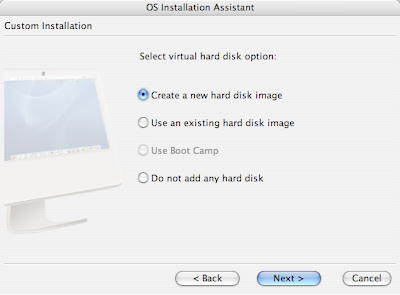
After clicking next, we need to specify the size of the virtual hard disk. It is recommended that you leave the default 32GB and select Expanding format for the virtual hard disk. If you are installing Solaris 10 with typical options, this is the format that will be selected by default.
The benefit of selecting Expanding format is that the size of the virtual hard disk will be 0 when created. The size grows up to the max specified size. Since the space is allocated on demand, you get hard drive space saving.
Clicking next will ask you to select a networking option for the Solaris 10 virtual machine. The default "Shared Networking" will let our Virtual Solaris 10 machine use Mac's network connections. Based on my earlier experiences with Solaris 10, I encourage you to select "Bridged Ethernet" which will make our Solaris 10 virtual machine appear as a separate machine on the Internet.
On the next screen keep the "Default Adapter" selected for the real network interface to be used by Solaris 10 virtual machine.
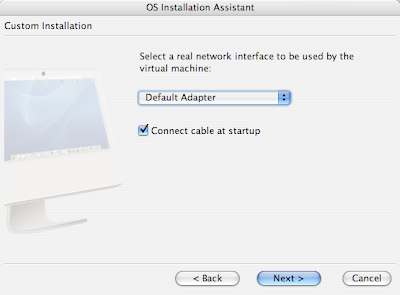
Now we are ready to name our Solaris 10 virtual machine on the next screen.
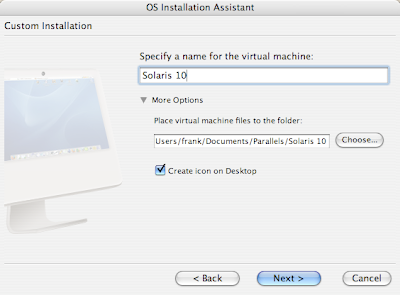
Believe it or not, we are actually ready to start the installation. Since I am installing the virtual machine using a real DVD and not from an ISO image, I kept the default options selected. Make sure you have inserted the Solaris 10 DVD/CD at this point before continuing.
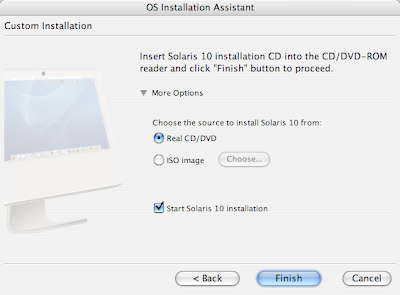
Clicking finish at this point will launch the Solaris 10 installation process. I will continue from this point in my next blog post.
NEXT:
Installing Solaris 10 on Mac Book: part 1
Installing Solaris 10 on Mac Book using Parallels: part 2
Installing Solaris 10 on Mac Book using Parallels: part 3
Installing Solaris 10 on Mac Book using Parallels: part 4
Installing Solaris 10 on Mac Book using Parallels: part 5
1 comment:
Its impressive to know something about your note on sun solaris Course. Please do share your articles like this your articles for our awareness. Mostly we do also provide Online Training on Cub training sun solaris course.
Post a Comment